Class Selector and CSS text styling
In the last lesson, Introduction to CSS , we showed how to use CSS. We learned how to color and align text. Today we will continue with the CSS tutorial.
Centering pictures
We have one picture on our site. It would certainly look better if the image was in the center of the page. Centering is quite a science in CSS and during the series we will learn several ways to center various elements on a page. Center the image by inserting it into the paragraph (we already have it in the paragraph) and assign the text-align property with the center value to the paragraphs in CSS. The problem is that we only know the type selector so far, and if we put this into CSS:
p {
        text-align: center;
}
We would center all of the paragraphs on the page. The result would look something like this:
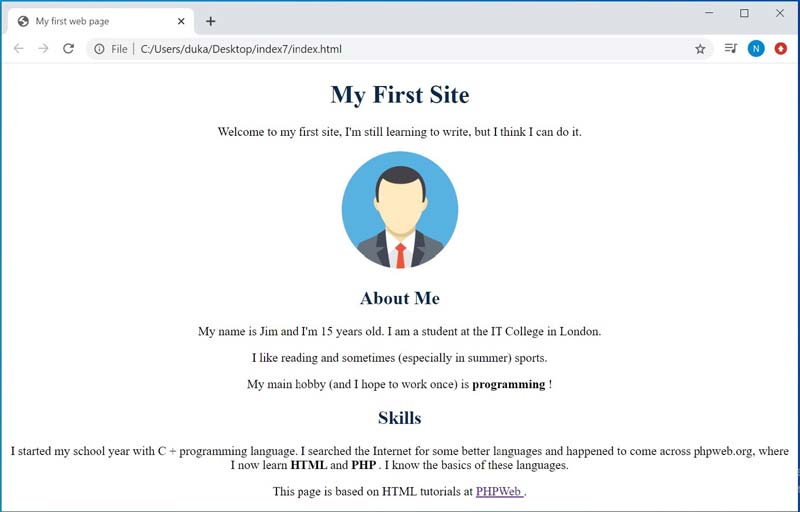
Such paragraphs are very difficult to read. Today we will learn how to style only some of the elements on the page.
Class selector
We do not always want to style all elements of a certain type. For this reason CSS offers us 2 more selectors: class selectors and ID selectors. The class selector works by sorting some elements of the page into a class using the class attribute. Elements with this attribute are then styled according to the properties of the given CSS class.
Let's try to center the content of only certain paragraphs. For this purpose, let's create a "centered" class. We can name the class as we like, but we only have to use lowercase letters and dashes. It should be clear from the class name what it does (so avoid names like class15 and so on).
Let's move to style.css and define the class selector to the centered class. The class selector always begins with a period and continues with the class name. It also works the same as the type selector. Inside the selector we put the known text-align property with the center value.
h1, h2 {
        text-align: center;
}

.centered {
        text-align: center;
}
Now, let's move to index.html and classify our image paragraph into the centered class. We do this using the class attribute:
<p class="centered">
        <img src="images/avatar.png" alt="Programátor HoBi" />
</p>
We save and test. Result:
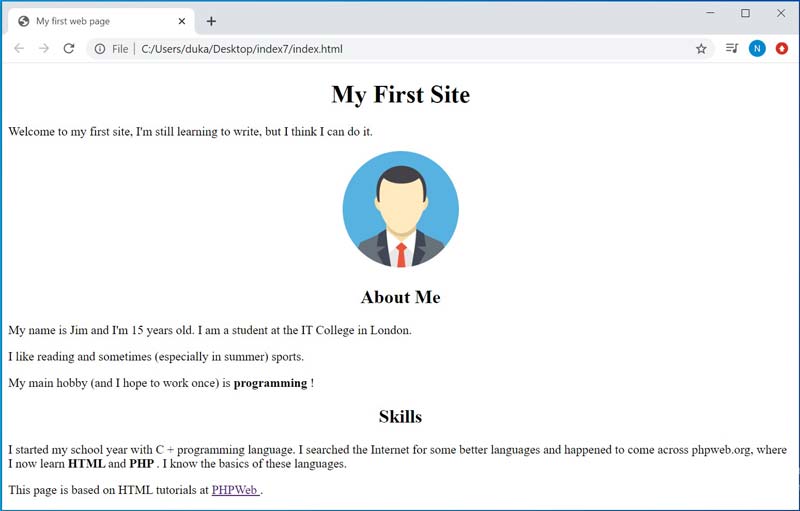
The content in all elements with the centered class will now be centered. If you find it misleading that the image responds to the text-align property, you're right. The title is somewhat confusing, it is content alignment, not text. The element can be assigned to several classes at once, simply by separating their names in the class attribute. Most of them are not too many.
Text styling
We put better text style on our page and let's mention some CSS properties.
Text Font
To change the font of the text, use the font-family feature. The default font on the web is Times New Roman serif, which is not very suitable for the web and is more used in printed documents.
Typically, fonts (fonts) do not combine too much on one page, usually only 2 - one for headlines and another for the rest of the text on the page.
Of course, the problem with fonts is that if we use one that only we have on the computer, others who don't have the font will see the web as the default font. For this reason, either a font will be attached to the page (which we don't know yet), or one of the fonts that is on most computers will be used. The following fonts are most often used on websites (although for example, on Linux you need to install some fonts):
Arial
Times New Roman
Verdana
Georgia
Comic Sans MS
Arial Black
Impact
Lucida Console
Tahoma
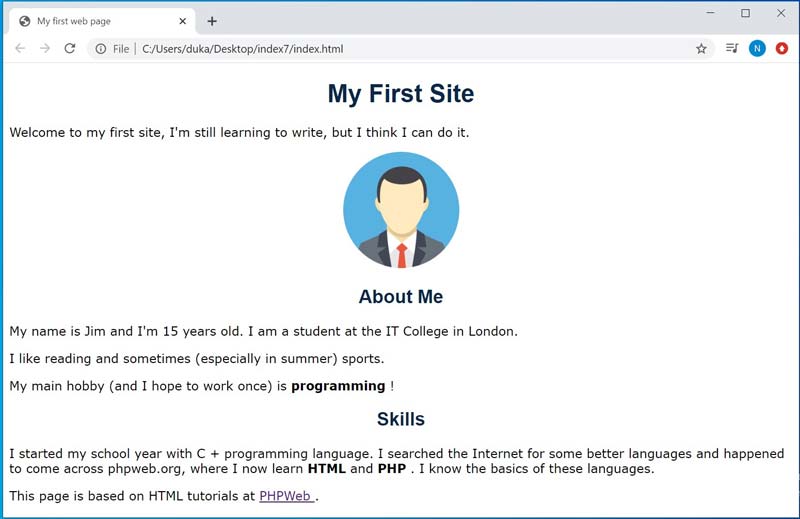
Set the Verdana font for the page. Put it in the type selector points, so this font will have all elements in the body of the page, unless otherwise specified. Let's set Arial to the headings.
So let's add a type selector to points to CSS and edit it to the headings:
body {
        font-family: Verdana;
}

h1, h2, h3, h4, h5, h6 {
        text-align: center;
        color: #0a294b;
        font-family: Arial;
}
In addition to the heading style, I have added another 4 to the selector if we accidentally used them to look like the others.
Result:
Font size
The font size is set using the font-size property. As with colors, we have several options to specify the size. Here is a basic 2.
Pixels
The first option is to specify the size of the text in pixels. Let's set the font size to 14 pixels in everything:
font-size: 14px;The advantage is that the font will be the same size everywhere. This is especially useful for setting the master font for whole points.
Em == The second way to specify the size is the so-called em units. The value specified by em indicates how many times the font is larger than the letter size of the current font. It is therefore a relative unit. It is advantageous to use em everywhere, because if we choose a larger font on our page, we change only the font into points and all the other fonts will enlarge itself. Let's set the headline h2 slightly larger, to 1.7em (70% larger than the current text):
h2 {
        font-size: 1.7em;
}
Result:
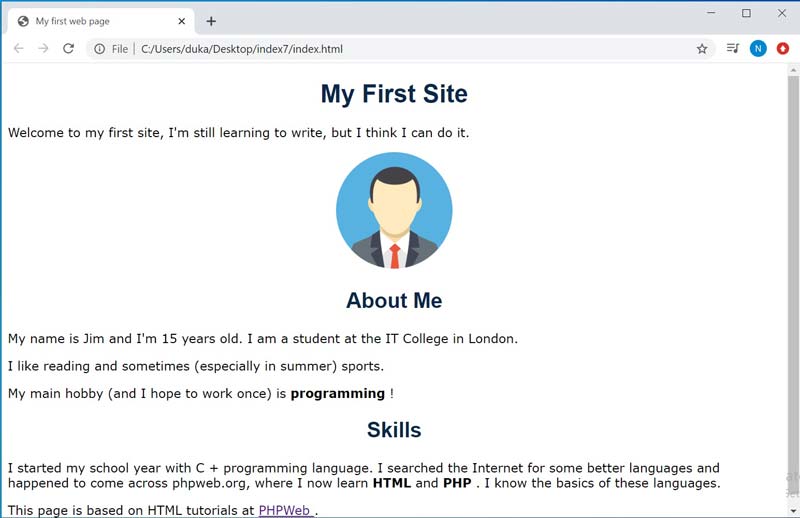
Note that we make really small changes. There is no reason to make titles blazingly red and two meters high.
Font size and font settings are usually combined into one CSS font property. Instead of:
font-family: Verdana;
font-size: 14px;
So we can write:
font: 14px Verdana;Shadow font
We can add a shadow to the font simply by using the CSS text-shadow property. Let's put a little shadow under our headings:
text-shadow: 3px 3px 7px #666666;The first 2 parameters are the shadow position, we say they lie 3 pixels to the right of the text and 3x below. The third parameter is blur, the higher the value, the more blurred the text. At 1px, it is sharp. The last parameter is the color, here gray.
Result:
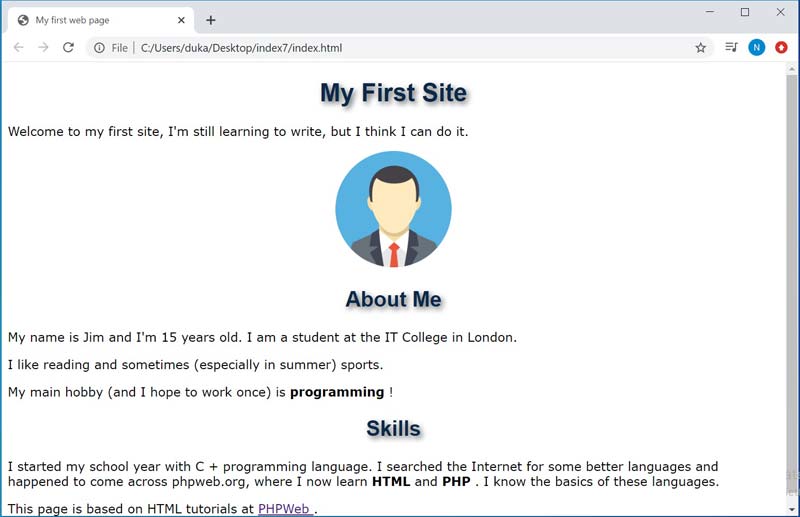
With shadow you can do quite a lot, if you add a few and paint, you can do, for example, the effect of fire. I will always try to guide you to various gadgets if you are interested
In the next lesson, Layout and Background in HTML, we will start working on the layout, ie the layout of the page on the navigation menu, the content section and the footer. The website is as always attached to download.
Download index.html (In Zip format)