HTML lists and tables
In the last lesson, Tables in HTML Tables in HTML, we explained tables. Today we will add a table to our website in HTML tutorial and we will mention the lists. After the lists we finally get to CSS and website design.
Skills subpage
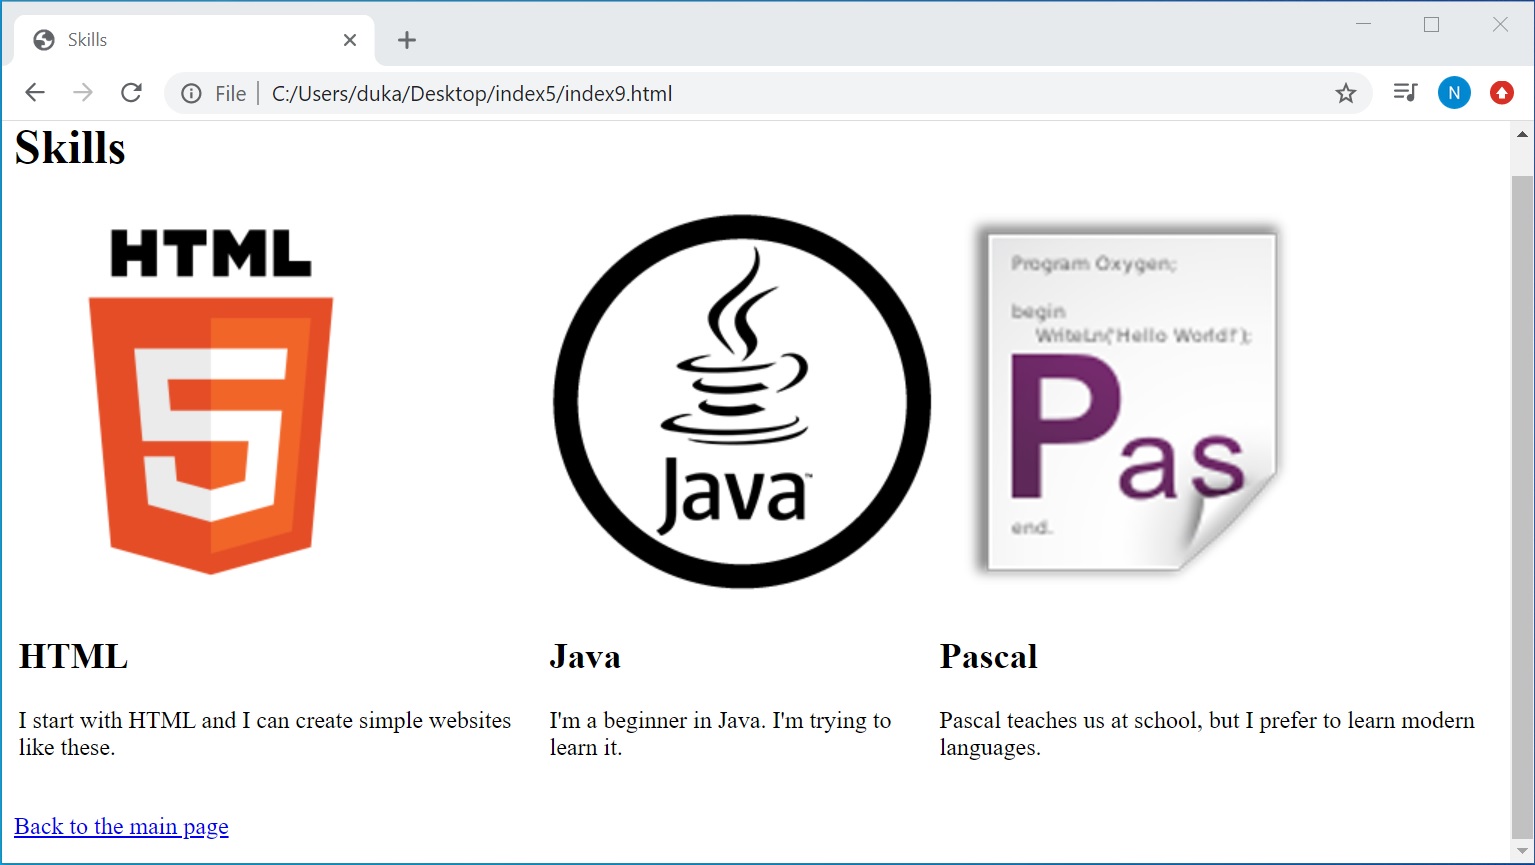
Create a new subpage to our website again, this time we save it as a skill.html. Fill in everything you need (doctype, html, head, body) and put a table with our skills into the body of the new page. The table will have 2 rows, the first will be the icon of the language we speak, the second will describe what we can do. I got the icons again using the web tool http://www.iconfinder.com. The resulting code for our subpage could look like this:
<!DOCTYPE html>
<html lang="en-US">

<head>
        <meta charset="utf-8" />
        <title>Skills</title>
</head>

<body>
        <h1>Skills</h1>

        <table>
                <tr>
                        <td>
                                <img src="images/html.png" alt="HTML" />
                        </td>
                        <td>
                                <img src="images/java.png" alt="Java" />
                        </td>
                        <td>
                                <img src="images/pascal.png" alt="Pascal" />
                        </td>
                </tr>
                <tr>
                        <td>
                                <h2>HTML</h2>
                                <p>I start with HTML and I can create simple websites like these.</p>
                        </td>
                        <td>
                                <h2>Java</h2>
                                <p>Im beginner in Java. Im trying to learn it.</p>
                        </td>
                        <td>
                                <h2>Pascal</h2>
                                <p>Pascal teaches us at school, but I prefer to learn modern languages.</p>
                        </td>
                </tr>
        </table>

        <p><a href="index.html">Back to main page</a></p>
</body>

</html>
And browser preview:

So we practically used the table on our website.
Lists
We use the list whenever we need to list items that are somehow related. This can be a list of used literature, numbered steps in the tutorial, or a navigation menu. You certainly know them as "bullets" from MS Word. There are 3 types of lists in HTML.
Unordered list
The first type of list is <ul> (Unordered List). Items in it are unnumbered (unordered) and are displayed by bullets by default. Although the list is viewed as disordered, the order of the elements in the code on the rendered page will of course remain. <ul> is a paired tag and wraps list items.
List item
The <li> tag (as a List Item) identifies one list item, and most often wraps its text. However, it can also contain images and other arbitrary elements.
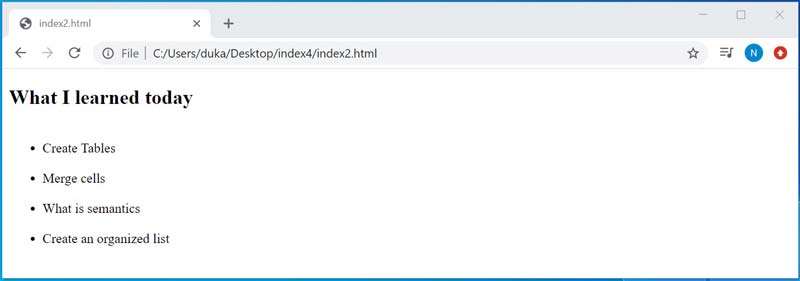
Here's a simple example of a disordered list:
<h2>What I learned today.</h2>
<ul>
  <li>Create tables.</li>
  <li>Merge cells.</li>
  <li>What semantics is.</li>
  <li>Create an ordered list</li>
</ul>
Result:

Using <ul> often solves the navigation menu, we will show it during the series.
Ordered list
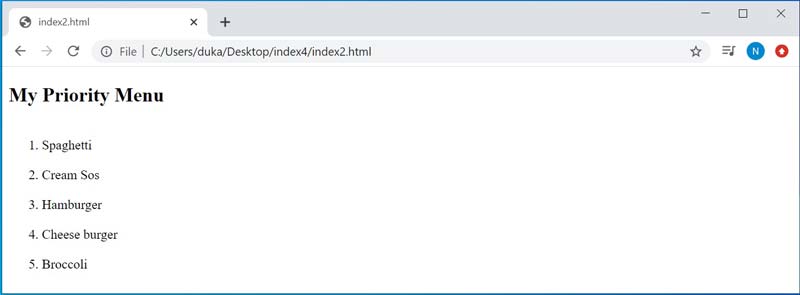
Ordered List differs from Ordered List in that the elements are sorted by a key. This is most often the priority or sequence of actions. Writing is exactly the same as for a jumbled list, again <ol> wrap the <li> list items. Instead of bullets, the basic style browser will show us the digits:
<h2>My priority Menu</h2>
<ol>
  <li>Spaghetti</li>
  <li>Cream sos</li>
  <li>Hamburger</li>
  <li>Cheese burger</li>
  <li>Broccoli</li>
</ol>
And the result:

Unlike a disordered list, the <ol> element has several attributes:
reversed - If the attribute is specified, the list items are numbered in reverse, in descending order. The value is usually reversed, but can be empty or none.
start - The value of the attribute determines the first number in the list, we enter it as a number.
type - Sets the numbering type, we can set values: 1, A, a, I, i for Arabic numerals, Latin letters and Roman numerals.
The following attribute can be added to the <li> element:
value - Indicates the item number for an ordered list. The following items are then automatically numbered from this value.
Let's try an even more advanced example:
<ol reversed="reversed" start="4" type="I">
  <li>Item</li>
  <li>Item</li>
  <li>Item</li>
</ol>
And the result:

Glossary of terms
The last type of list is the Definition List. Unlike the first two, it contains 2 item types, namely:
Concept
We put the explained term in the <dt> tag (as Definition Term).
Definition
We will explain the term in the <dd> tag (as Definition Definition).
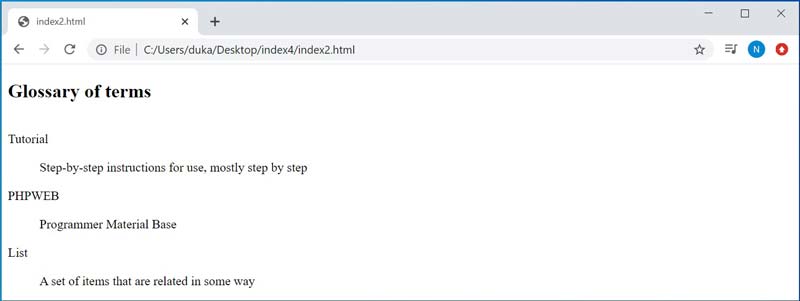
Let's do a example:
<h2>Glossary of terms</h2>
<dl>
        <dt>Tutorial</dt>
                <dd>Step-by-step instructions for use, mostly step by step</dd>
        <dt>PHPweb</dt>
                <dd>Programmer Material Base</dd>
        <dt>List</dt>
                <dd>A set of items that are related in some way </dd>
</dl>
And the result:

Download index.html (in Zip format)
And you know what to expect in the next lesson, Introduction to CSS (Cascading Style Sheets). Introduction to styling! Look forward to it, as our site will look much better soon.