Images and links in HTML
In the last lesson, Basic HTML Tags , we learned to highlight text and use headlines. We have also created the first page of a simple website to continue in today's HTML tutorial.
Pictures
What would a web without images be? Insert images using the <img /> tag (as image = image). We encounter the first tag that requires so-called attributes. The attribute is additional information to the tag. Here the attribute will be the path to the image file - src attribute and alt image description. Attributes are enclosed in brackets after the tag name, followed by an equal sign, and the contents of the attribute are enclosed in quotation marks. It is a good practice to have all of your site images in a folder so they don't mix with other content. So we create a new folder in the web folder, which we name images. We insert the image that we want to display on the page. Save it to a newly created folder and try to put it in a new paragraph.
The resulting image code could look like this:
<p>
        <img src="images/avatar.png" alt="Programmer Jim" />
</p>
Attention: We need to realize that it will take some time to download the image when the site is online. Therefore, use economical formats such as JPEG or PNG where the resulting image is small in size due to compression. JPEG is typically used for large images and photos, PNG for icons, drawings, and images with monochrome areas. Be sure to avoid BMP that is uncompressed or GIF that damages the pallet.
The alt attribute is often omitted, but this is a mistake. It plays a role, for example, in Google Images or voice readers.
Result:

You can set the height and width of the image using the width and height attributes. Values can be either a number (eg width = "64") and will indicate size in pixels or percent (eg width = "50%"). If only one attribute is specified, the other attribute is calculated to maintain the aspect ratio. Again, we need to realize that the image should be the size of the web on which it will appear. So we should shrink it for example in GIMP and not upload it to a large site and shrink it in HTML. Otherwise, the browser would have to load the entire large image, reduce it and then display it. That would surely take a while.
Links
The last and perhaps the most important tag we'll mention here is a link. Insert it with the <a> tag (like anchor = anchor). The <a> tag is paired and wraps the text to be a link. Requires the href attribute, where the landing page to which the link leads. Sometimes it's useful to open the page in a new browser tab, in which case we add the target attribute with _blank.
Sample code with link:
<a href="http://www.google.com">Link to Google</a>We need not only refer to pages, but also to files. Clicking the link then downloads them.
Sample code for download:
<a href="http://www.myweb.com/file.zip">Download file.zip</a>HTML elements are divided into line and block elements. The difference between them is that block types can contain both types, but line types can only contain line types. A link is a line element, just like all the elements we've mentioned so far, except the headings that are block. So we can put a picture into the link, but not a title.
Putting everything we've learned into your site code today might look like this:
<!DOCTYPE html>

<html lang="en-US">
        <head>
                <meta charset="utf-8" />
                <title>My First web page</title>
        </head>

        <body>


<h1>My first site</h1>
<p>Welcome to my first site, Im still learning to code, but I think I can do it .</p>

<p><img src="images/avatar.png" alt="Programmer Jim" /></p>

<h2>About me</h2>
<p>My name is Jim and Im 15 years old. Im student at IT College in London.</p>
<p>I like reading and sometimes (especially in summer) sports.</p>
<p>My main hobby (and I hope to work once) is <strong>programming</strong>!</p>

<h2>Skills</h2>
<p>I started my school year with C+ programming language. I searched the Internet for some better languages and happened to come across phpweb.org, where i now learn <strong>HTML</strong> a <strong>PHP</strong>. I know the bacics of these languages.</p>

<p>This page is based on HTML tutorials at <a href="http://www.phpweb.org" target="_blank">PHPWEB</a>.</p>

</body>
</html>
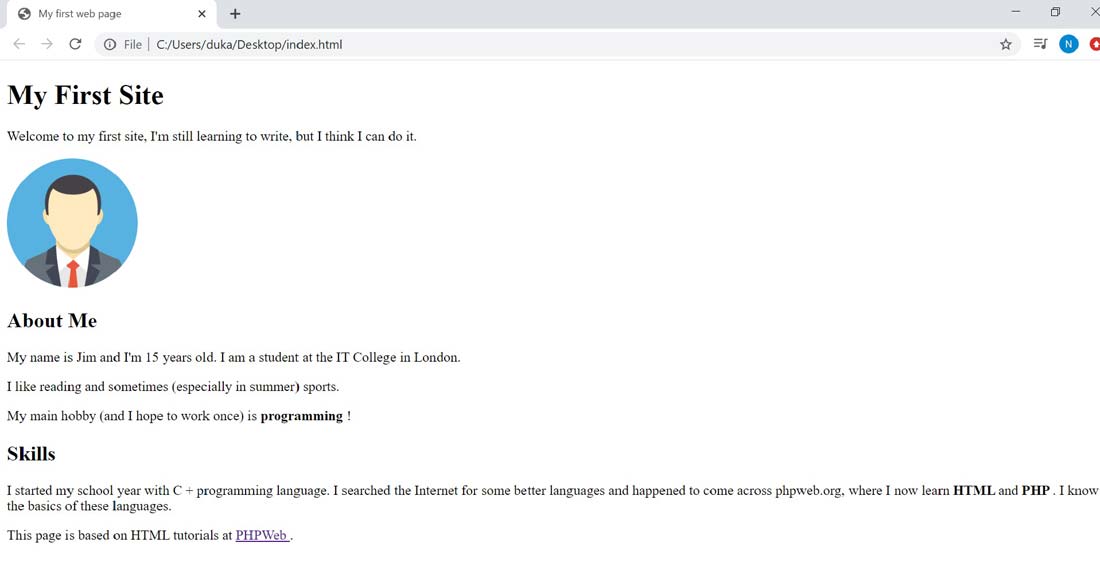
And the result:

After clicking the link, PHPWeb opens in a new page.
Navigation
Finally, let's try simple navigation within the page. We will create a new HTML file in PSPad, it will be a contact page, which we will go to from the main page (from index.html) and from the contact page we will be able to return to the main page.
The new page's code will be as follows: .
<!DOCTYPE html>
<html lang="cs-cz">

<head>
        <meta charset="utf-8" />
        <title>Contact me</title>
</head>

<body>
        <h1>Contact</h1>
        <p><img src="images/email.png" alt="email" /></p>
        <p>
        If you want to tell me something, email me at <strong>info@phpweb.org

        </strong>
        </p>

        <p><a href="index.html">Back to main page</a></p>
</body>

</html>
We save the page as a contact.html in the site folder. I downloaded the picture (icon) of the email from http://www.iconfinder.com, where you have thousands of icons for your website. The icons are free, each has a license, some you can use as you wish, some need a link to the author. We will mention a few more websites that will help us in creating graphics.
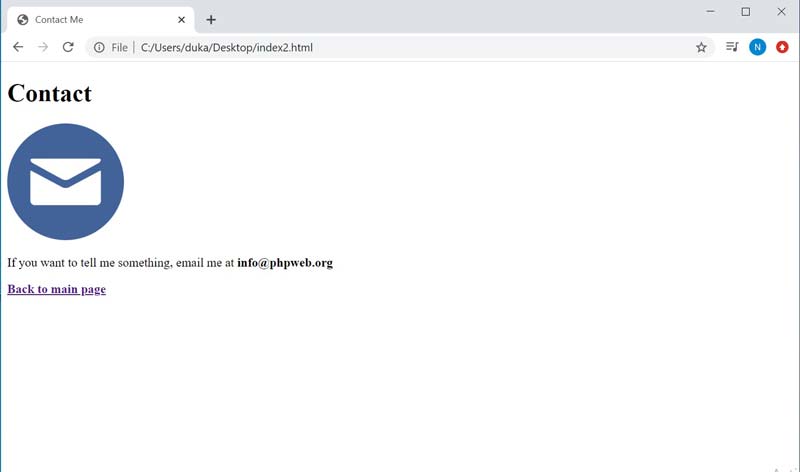
Let's try to open the contact.html page in a browser, it looks like this:

Click the link below to go back to the main page.
We have two-way navigation within our website. In the next lesson, Tables in HTML, it will be about tables and lists. Today's code is, as always, downloadable below.